
Cards & board games Game guide
Oakmoss Draughts: solve Acorn Drop in two moves
Move the king, let a compulsory capture open the diagonal, then take both galls. A pictured walkthrough of the first Oakmoss Draughts problem.
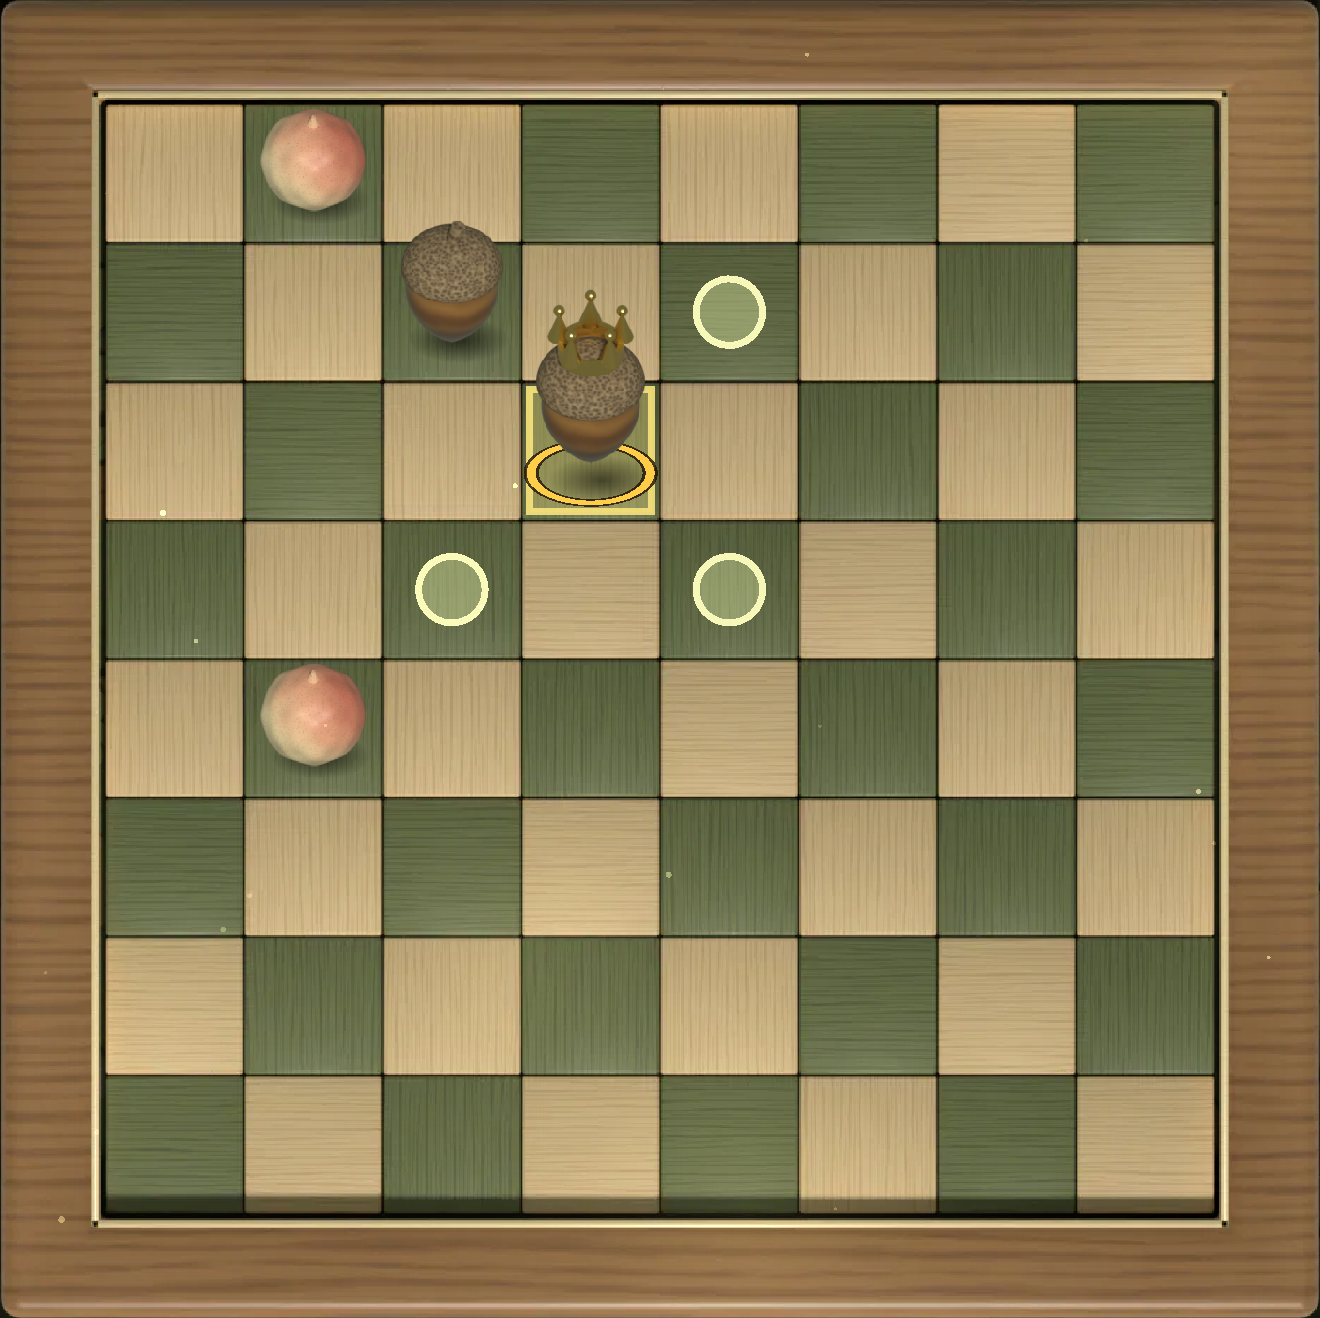
To solve Acorn Drop, move your king one square up and right, let the gall capture your other acorn, then jump down and left twice. The sacrifice opens a diagonal that lets your king take both remaining galls in one move.
This is a walkthrough of the first Problems position in Oakmoss Draughts, our English draughts game. It includes the full solution. If you’d rather work it out, open Problems, choose Acorn Drop, and look at the gall in the top row before reading on.
Move the king, not the loose acorn
You control the acorns. The piece wearing a crown is your king, starting at row 3, column 4. Your uncrowned acorn is just above and left of it, at row 2, column 3. The pale round pieces are the opposing galls.
The board has no printed coordinates. For this guide, count all eight rows from the top and all eight columns from the left, starting at one.
Click the king to select it. The opening screenshot shows three glowing destinations. Choose the one above and to the right, at row 2, column 5. Selecting the piece alone doesn’t spend a move; clicking its destination does.
Don’t move the uncrowned acorn out of danger. It is the piece you need the opponent to take.
Let the forced reply open the diagonal
Moving the king vacates row 3, column 4. That square is directly beyond your uncrowned acorn from the top gall’s point of view. The gall can now jump from row 1, column 2, over the acorn, into the square your king just left.
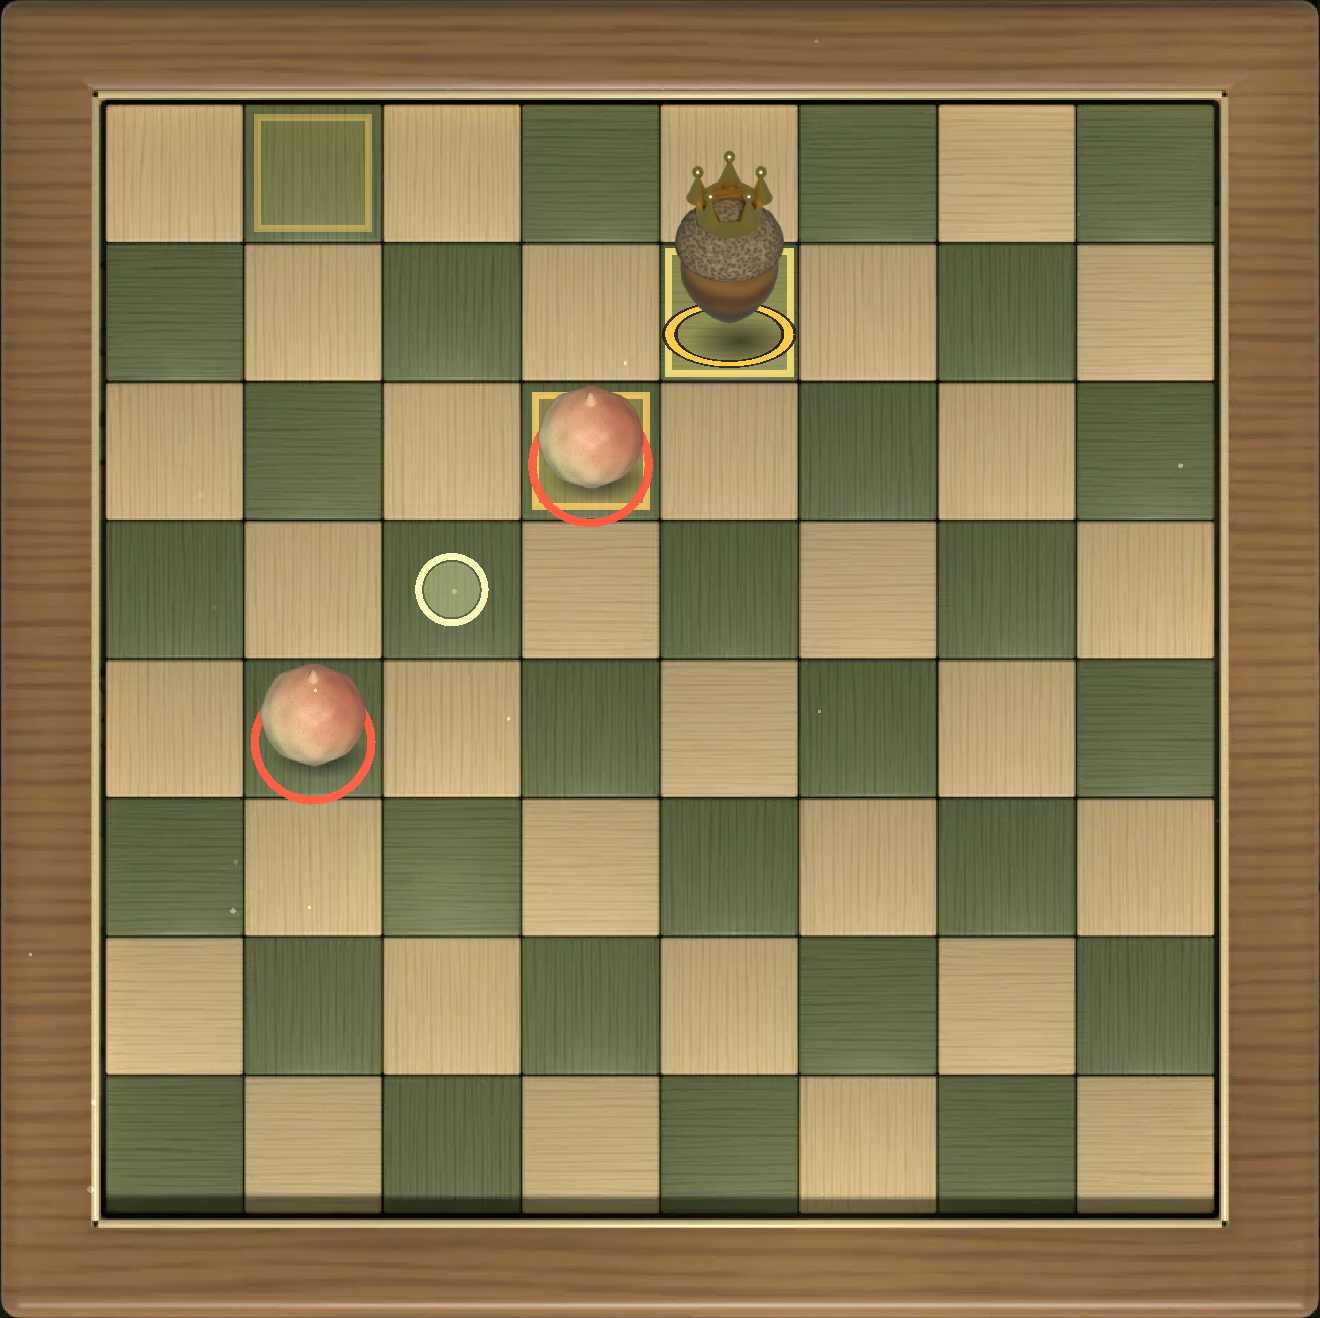
The capture is compulsory, so the opponent cannot choose an ordinary move with the other gall instead. Wait for that jump to finish. Your king is now above and right of both galls, with empty landing squares beyond them.
Finish both jumps with the same king
Select the king at row 2, column 5, then click these destinations in order:
- Row 4, column 3. Jump over the gall at row 3, column 4.
- Row 6, column 1. Continue down and left over the gall at row 5, column 2.
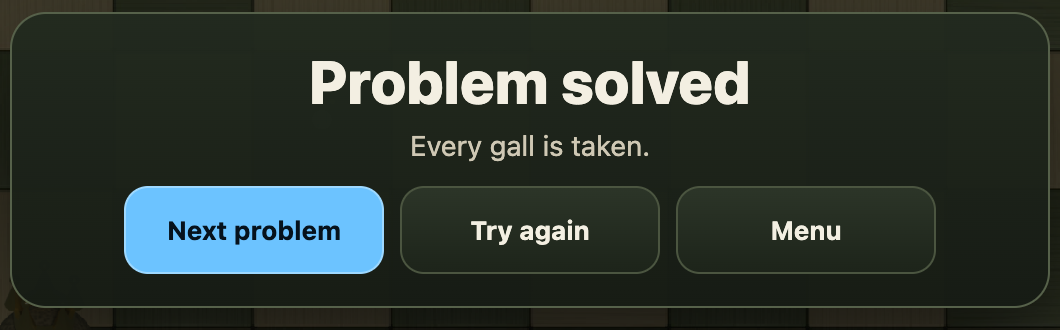
Don’t switch pieces or stop after the first landing. The second jump continues the same capture sequence, so the two jumps together use your second move, not a second and third move. With both galls gone, the game shows Problem solved.
These are English draughts capture rules: captures are required, a multiple jump must be completed, and kings can capture backward as well as forward. The World Checkers/Draughts Federation rules, sections 1.19 to 1.21, describe those rules. Here, the crown matters because your winning jumps run toward the bottom of the board.
Check the landing square before sacrificing
The useful habit is to inspect where an opponent must land after taking your piece. In Acorn Drop, moving the king opens that landing square and places both galls on its return path. Giving away an acorn without checking the reply would not establish the same result.
Use Try again to trace the line once without the guide, or Next problem to try a different position. This solution belongs to the fixed Acorn Drop board, not every position where an acorn is threatened.
Checked against Oakmoss Draughts v2 on 5 October 2026 using ordinary mouse input in Chrome. The screenshots show one completed problem. Phone-width article checks are not a physical-phone gameplay test.